
Exploring vind: Local Kubernetes inspired by vCluster
Finally, after many non-tech topics, I am coming back to tech :) And today, we want to dive a bit into vind. Why? I am always looking for interesting local cluster solutions for conducting my Kubernetes workshops. I started with minikube , which worked great - until it stopped working for some reason I still don’t know. I hence started with kind , but this was not properly working on my Mac. So I ended up conducting workshops either with Kubernetes coming with Docker Desktop - or a “real” cluster participants have to connect to.
Then I heard about the new cool kid on the block - vind ! From what I heard in the very beginning, it’s “kind with vCluster”. Turns out - it’s not. So first, a few definitions.
Definitions first
vCluster
vCluster lets you create virtual Kubernetes clusters inside a real (host) Kubernetes cluster. So while each vCluster looks like a fully functional Kubernetes cluster to the users, it’s actually “just” isolated workloads in a shared cluster, running inside a namespace with its own virtual control plane, API server, and etcd.
kind
kind lets you run a real Kubernetes cluster locally using Docker containers as nodes. It behaves like a normal cluster, but everything (control plane and workers) runs inside containers on your machine instead of VMs or cloud infrastructure.
vind
vind provides isolated Kubernetes environments locally without requiring you to manage a separate host cluster first. It combines the idea of running Kubernetes in Docker (like kind) with built-in cluster isolation (similar to vCluster), making it easy to spin up multiple Kubernetes environments quickly.
So generally you can spin up a local kind cluster - and then use vCluster on top of it. But vind takes a different approach and removes that extra “host cluster” layer. So while vind feels somewhat similar to “kind with vCluster”, it does not actually use that exact stack under the hood.
In very short:
- kind = real cluster in Docker
- vCluster = virtual clusters inside a cluster
- vind = local, cluster-like environments without the extra layer aka vCluster running directly in Docker
vind in a bit more detail
Thanks to vind, you can immediately spin up isolated environments that behave like real Kubernetes clusters. Under the hood, each environment includes the typical Kubernetes components, all running directly on top of Docker. And given vind reuses concepts and components from the vCluster ecosystem, you can run multiple of these environments side by side without them interfering with each other. 🎉
Normally, when vCluster runs on top of a real Kubernetes cluster you would have the follwing:
Host Kubernetes Cluster
└── Namespace
     └── vCluster (API server + syncer + virtual control plane)
So you first need a real cluster (cloud, kind, etc.), and then you layer virtual clusters on top.
vind simplifies this model:
Docker
└── vind cluster
    ├── Kubernetes API server
    ├── control plane components
    └── container-based worker execution
From a practical point of view, this is where vind becomes really interesting. It’s not just about how quickly environments can be created, but about what you can do with them once they exist.
For example, vind supports features like pausing and resuming environments, and it allows you to attach external nodes to a local environment via VPN. I will definitely try this out with one of my Pi’s - but not in this post. 😇
Still, we want to get practical and play around a little bit. So - time for the fun part :)
Getting started with vind
Time to spin up our first vind environment. Before we can really start, we need to ensure the following prerequisites:
- Docker installed and running
- vCluster CLI v0.31.0 or later, ideally just upgrade to the latest version before starting
👉 One important thing to note: vind is not a separate installation. It’s simply a Docker-based execution mode of the vCluster CLI. So once Docker and the CLI are set up, we already have everything we need.
The only thing to do is setting vCluster to exactly that “vind mode”, meaning: set Docker as default driver via:
vcluster use driver docker
We can now create our cluster by running:
sudo vcluster create demo-cluster
Please note: For a very basic test, sudo is not required. However, because we want to use LoadBalancer services later on, elevated privileges are needed.
After a short while for setting everything up (having it run the first time will take a while due to images needed to be pulled first), we can run
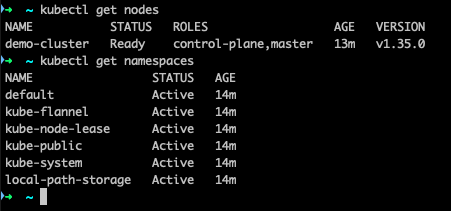
kubectl get nodes
kubectl get namespaces
And there we go 🚀
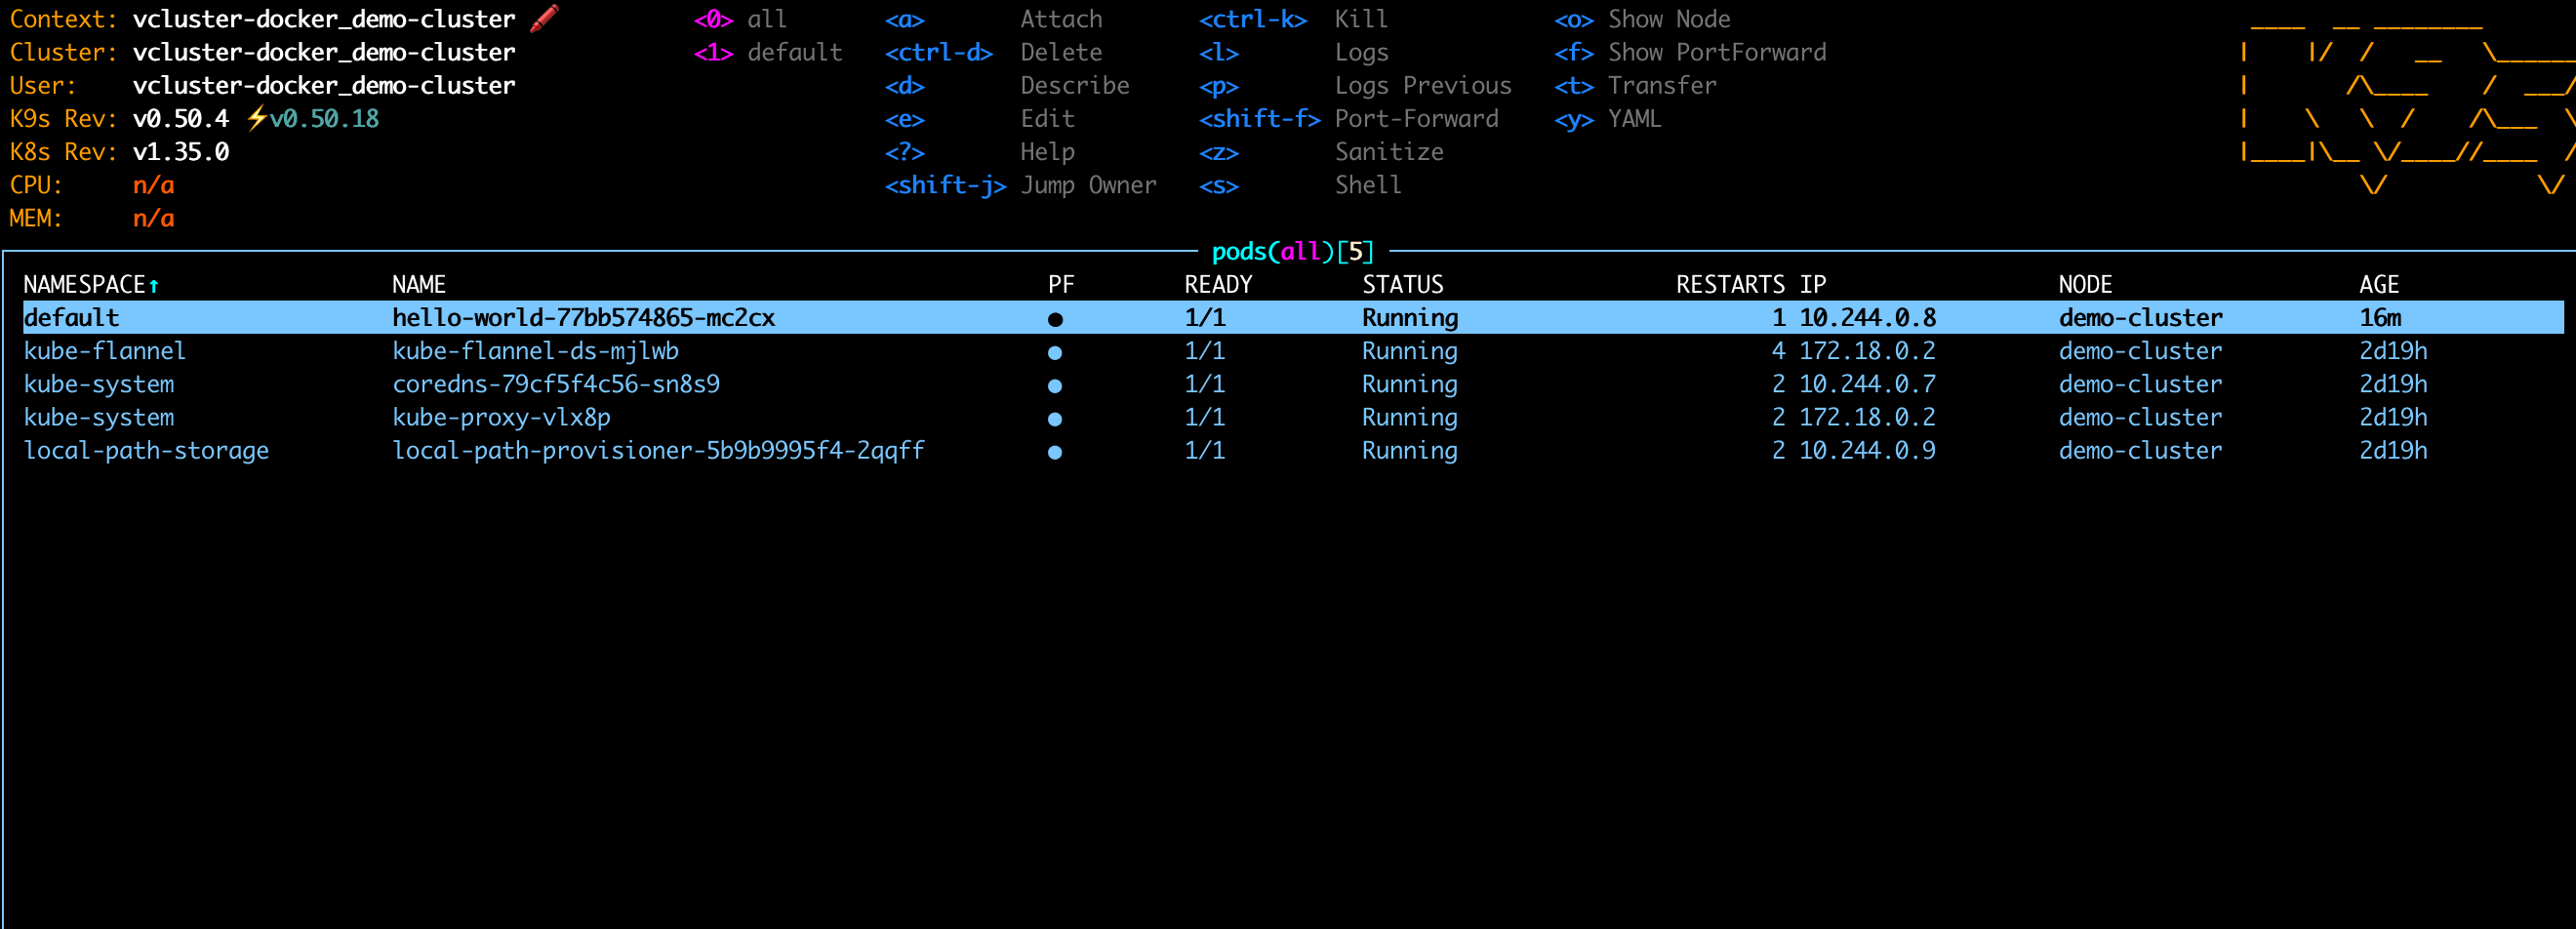
Now, let’s deploy a very basic demo app to our cluster by running:
kubectl create deployment hello-world --image=vtrhh/hello-world-app
Thanks to port-forwarding we can verify that everything is up and running :)
Pause / Resume function
Let’s now try the handy Pause & Resume function of vind. First stop the cluster:
vcluster pause demo-cluster
then start it again with:
vcluster resume demo-cluster
After a short startup time, our cluster is back - including our demo app:
Nice :)
Multi-Node Cluster
So far we just have a basic cluster with one node. Time to make things a bit more realistic with a multi-node cluster.
We then can use one of the examples :
experimental:
  docker:
    nodes:
      - name: worker-1
      - name: worker-2
      - name: worker-3
controlPlane:
  distro:
    k8s:
      version: "v1.35.4"
Then we can upgrade our demo cluster with the following command:
vcluster create demo-cluster -f multi-node-cluster.yaml --upgrade
And there we go - our cluster has now a control plane and 3 worker nodes 🎉

And also our app is still there :)
Using the built-in Loadbalancer Service
vind includes built-in support for LoadBalancer services which is super handy for local testing. For this, we can again use one of the examples :
# Example LoadBalancer Service for vind
apiVersion: v1
kind: Service
metadata:
  name: nginx-loadbalancer
  labels:
    app: nginx
spec:
  type: LoadBalancer
  ports:
    - port: 80
      targetPort: 80
      protocol: TCP
      name: http
  selector:
    app: nginx
---
# Example Deployment to use with the LoadBalancer service
apiVersion: apps/v1
kind: Deployment
metadata:
  name: nginx
  labels:
    app: nginx
spec:
  replicas: 3
  selector:
    matchLabels:
      app: nginx
  template:
    metadata:
      labels:
        app: nginx
    spec:
      containers:
        - name: nginx
          image: nginx:latest
          ports:
            - containerPort: 80
and apply it via
kubectl apply -f loadbalancer.yaml
We can then expose our app via the LoadBalancer
kubectl expose deployment/hello-world --type="LoadBalancer" --port 3000
and running curl http://172.18.255.254:3000 gives us our demo app 🚀
Multi-cluster usage
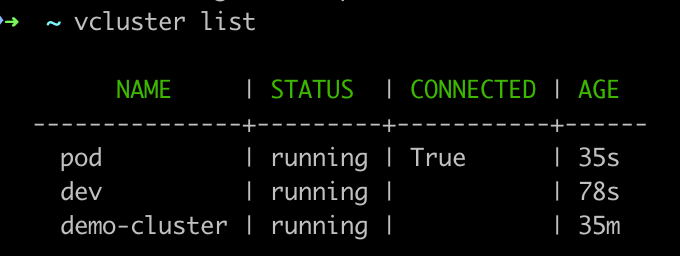
Last but not least, let’s look at a multi-cluster setup. This is again pretty simple. Let’s say we want to have a dev and a prod cluster, for simplicity for now just one node clusters. We just need to run:
vcluster create dev
vcluster create prod
wait a little and then check via vcluster list. And there we have two more clusters.
We can also see that prod has the hint connected, so when running kubectl get nodes, we are getting the node from the prod cluster.
Changing the context to another cluster is then pretty simple. Depending on the cluster you want to use, just use
kubectl config use-context vcluster-docker_demo-cluster
kubectl config use-context vcluster-docker_dev
kubectl config use-context vcluster-docker_prod
In case you are unsure, you can always check with vcluster list. You can also always change contexts by running vcluster disconnect and choose the context you want to use.

Summing up
vind feels like a really promising addition to the local Kubernetes tooling landscape. What I especially like is how quickly isolated environments can be created and switched between without having to manage an additional host cluster first.
For workshops, demos, and local experimentation, this can remove quite a bit of setup friction - especially when working with multiple clusters or testing more advanced scenarios locally.
I’m especially curious about the external node support next and will probably try attaching one of my Raspberry Pis to a local vind environment in a future post 👀
But even without that, vind already feels like a very practical tool to keep an eye on.